
Wall plugs are great for holding screws securely in place, especially in drywall or masonry. But when it’s time for a room makeover or wall repair, those once-helpful plugs can become annoying eyesores. Removing them improperly may cause large holes, cracks, or unsightly damage to your wall. Fortunately, there’s a simple DIY trick that helps you avoid the mess.
In this article, we’ll walk you through the best way to remove wall plugs without damaging the wall surface. Whether you’re a beginner DIYer or a seasoned home improvement fan, these tips will make the process quick and stress-free. And if you’re looking for more smart home fixes, be sure to check out House Needy—a great resource for home repair, maintenance, and renovation ideas.
Why Wall Plugs Are Tricky to Remove
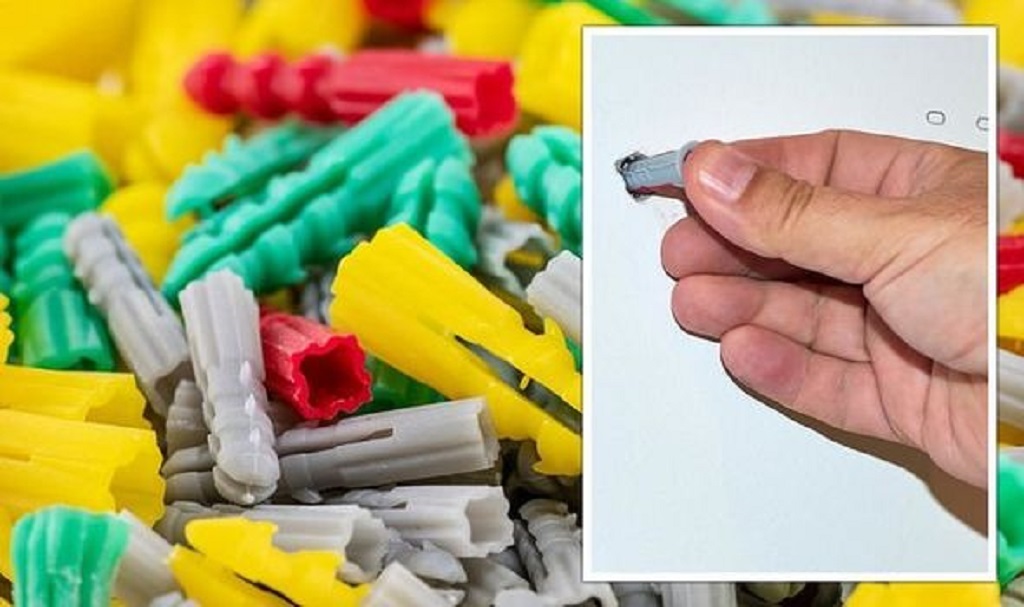
Wall plugs—also known as wall anchors or rawl plugs—are designed to grip tightly within walls to support heavy loads. While that’s excellent for mounting shelves or curtain rods, it also makes removal more difficult. If you try to pull them out by force, they might tear chunks out of the wall or leave craters behind. That’s why using the right method is crucial.
Some people resort to cutting or drilling out the plugs, which often results in more patching work than necessary. But there’s a better, cleaner, and easier way.
If you’re in a hurry and want a quick reference guide, check out this full walkthrough on the best way to remove wall plugs at House Needy. It’s packed with visuals and step-by-step instructions that complement what you’ll find below.
Tools You’ll Need
Before getting started, gather these simple tools:
- A screw that fits snugly into the wall plug
- A pair of pliers (needle-nose works best)
- A screwdriver
- A utility knife (optional)
- Spackling paste or wall filler (for touch-ups)
- Fine-grit sandpaper
You likely already have most of these tools in your toolbox. No fancy equipment required.
Step-by-Step: Best Way to Remove Wall Plugs Safely
Step 1: Insert a Screw into the Wall Plug
Start by inserting a screw about halfway into the wall plug. Don’t screw it all the way in—just far enough that it’s firmly attached. This provides a grip point for removal.
Step 2: Use Pliers to Gently Pull the Plug
Grip the screw head with your pliers and slowly wiggle it back and forth while pulling outward. The wall plug will often come out along with the screw. The key is to apply steady, gentle force.
If the plug resists, avoid yanking. Instead, rotate slightly and pull again. This minimizes damage to the surrounding drywall or plaster.
Step 3: If It’s Stuck, Push It In
In some cases, it’s safer to push the wall plug slightly deeper into the wall and patch over it. Use a screwdriver or blunt tool to tap it in gently, ensuring it doesn’t go too far and damage the other side of the wall.
Step 4: Trim Any Excess
If part of the plug remains sticking out, use a utility knife to carefully trim it flush with the wall surface. Then patch over the area using filler.
Repairing the Wall After Removal
Once the plug is removed, you’re likely left with a small hole. Here’s how to fix it neatly:
- Clean the hole of dust or debris.
- Apply wall filler or spackling paste with a putty knife.
- Let it dry, usually 1–2 hours (check the product label).
- Sand the area smooth with fine-grit sandpaper.
- Paint over the patch to match your wall.
This ensures a seamless finish, making the wall look like new.
Common Mistakes to Avoid
While the process is easy, there are a few mistakes to watch out for:
- Using too much force: This can enlarge the hole and create more wall damage.
- Skipping filler: Leaving a hole exposes the wall and looks unprofessional.
- Not matching paint: Always test your paint shade before doing a full patch job.
By taking your time and following each step, you’ll get a clean result without unnecessary repairs.
When to Use a Different Method
There are a few scenarios where the standard method might not work:
- Old, brittle plugs: These may crumble. Use a drill bit slightly larger than the plug and gently drill it out.
- Hollow wall anchors or toggle bolts: These need a different removal strategy, often involving cutting the head off and pushing the rest inside the wall.
For tricky cases, professional advice from a reputable source like The Spruce or HGTV can help.
Preventing Wall Damage in the Future
If you often hang and remove items, consider these options to reduce wall wear and tear:
- Use removable adhesive hooks for lightweight objects.
- Install a wall-mounted rail system for flexible hanging.
- Choose drywall anchors with removable features (some expand and collapse for easy removal).
These alternatives give you flexibility without sacrificing your wall’s integrity.
Read More Also: Miami’s Housing Market: Is Now the Right Time to Buy?
FAQs About Removing Wall Plugs
-
Can I reuse a wall plug after removing it?
No, wall plugs lose their grip once pulled out. It’s best to replace them if needed again.
-
What if the wall plug breaks during removal?
If the plug breaks, gently dig out the remaining part with a small screwdriver or utility knife. Or, push it in and patch over it.
-
Will removing wall plugs leave visible marks?
Only small holes will remain, which are easily patched with filler and paint. With care, the area can look good as new.
-
Can I use a drill to remove wall plugs?
Yes, but drilling should be a last resort. Use a bit slightly larger than the plug and go slow to avoid damaging the wall.
-
Is it better to push in or pull out wall plugs?
Pulling out is ideal, but if the plug is stuck, pushing it in and covering the hole is an effective alternative.
Read More Also: Miami Beach Botanical Garden: Your Tropical Oasis in the Heart of South Beach
Conclusion
Removing wall plugs doesn’t have to be a messy or frustrating task. With the right tools and a gentle approach, you can get the job done quickly and without harming your walls. The best way to remove wall plugs is by inserting a screw and gently using pliers—simple, effective, and low-risk.
Remember to clean up the hole, apply filler, and paint over it for a flawless finish. And for even more helpful DIY guides, don’t forget to visit House Needy your go-to site for smart home maintenance.
By taking your time and following these easy steps, your walls will look as good as new in no time.